Mailbox import
Import feature allows you to transfer a mail domain and its mailboxes from other mail services to ispmanager.
Preparing for import
Make sure that the directories of the mailboxes being migrated do not contain dots.
The mailbox example@domain.com has folders created on a third-party service for sorting emails:
- Version 1.2.3
- Harry J. P.
To correctly import a mailbox into ispmanager, you need to remove the dots from the folder names:
- Version 1_2_3
- Harry JP
Importing via account
- Log in to ispmanager as user or above.
- Navigate to the
 Mail → click Import button
  on the toolbar.
 - Select the source of the data to be transferred and desired settings:
- Owner — specify the panel user which will be the owner of the imported mail domain and its mailboxes. This field is available for administrator level accounts an above;
- Source — select the desired type. Depending on the selection, the set of available fields changes:
- Ignore existing mailboxes — check this box if among the mailboxes to be imported there are ones that have already been created in the panel and you do not need to transfer their data;
Parallel import — check the box if you want to run multiple imports at the same time.
Details- When importing a single box or when using imports without parallel processing, the data is placed in the first queue.
- Import queues are shared for all users of the control panel.
- When import is launched simultaneously by several users, import processes are added to the first queue or to the least loaded queue in case of regular and parallel import, respectively.
- The maximum number of queues is regulated by the ParallelEmailImportCount parameter of the ispmgr.conf configuration file. The default value is 2. There are no restrictions on the maximum number, but import errors may occur on the side of the source mail server if the number of simultaneous requests is large.
Click Import.
The system will automatically add the imported boxes and perform the migration in the background mode. When the import is complete, a notification will appear in the lower right corner.
Update the MX records for the mail domain to ensure mail service operates on the ispmanager server correctly.
Importing via mailbox
Used for import in case the mailbox is already created in the panel and only the content needs to be transferred.
Log in to the panel under the mailbox which data you want to transfer. This can be done in two ways.
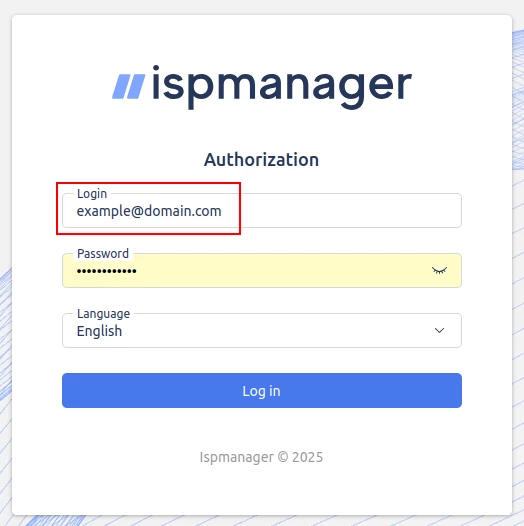
On the ispmanager authorization page, enter the login and password for the required mailbox:
- Log in to you ispmanager account.
- Go to the Mail.
- Select the desired mailbox.
Click the drop-down menu
 → Log in as email.
- Navigate to the
 Mailbox import section.
 Select the source of the data to be transferred and desired settings:
Inbox contents will be deleted before import.
- Click Import.
IMAP
Used for data transfer of one mailbox.
- Mail server address — specify the current address of the mail server to be accessed via IMAP.
- Email — specify the mailbox that needs to be transferred.
- Password — specify the password of the mailbox that needs to be transferred.
CSV-file
Used for data transfer of multiple mailboxes.
- Mail server address — specify the current address of the mail server to be accessed via IMAP.
CSV file — upload a .csv file containing a list of mailboxes and passwords.
Example1@domain.com,password1
2@domain.com,password2
3@domain.com,password3
...
Yandex
Used for importing mailboxes from the "Yandex 360 for business" service. When importing via mailbox, some of the fields are not displayed.
- Token — specify a token to connect to the API of the mail service. For more details, see Yandex documentation.
- Get a token — click to get a token through the panel. Then authorize through the opened Yandex form. The generated token will be automatically inserted in the Token field.
- Domains — select a domain. This field displays the organization's primary domain. Mail aliases are not displayed, but will be created in the panel as separate mail domains during import. The default action for such mail domains is set to redirect to domain, and the organization's main domain is specified as the domain for redirection.
- Mailboxes — select mailboxes. Only the main mailbox of each employee is displayed in this field. User aliases are not displayed, but will be added as aliases for the main mailbox during import.
Import mailbox content — check this box if you want to transfer mailbox data to the panel. In this case:
All mailboxes from the list must have IMAP access by portal password enabled in the Yandex Mail settings.
At the moment, this option is disabled from the Yandex 360 side, which makes import of mailbox contents unavailable. To import multiple mailboxes, use import via CSV file.
- When importing, the password from Yandex will be replaced with a new one that matches the password of the box in the panel. If you know the mailbox passwords and do not want them to change, use import via CSV file.
If not checked, empty mailboxes and domains will be created in the panel. In the future, mailbox owners will be able to transfer mails via mailbox on their own.
Mail.ru
Used for importing mailboxes from the "VK WorkMail for business" service. When importing via mailbox, some of the fields are not displayed.
- Token — specify a token to connect to the API of the mail service. For more details, see Mail.ru documentation.
- Get a token — click to get a token through the panel. Then authorize through the opened Mail.ru form. The generated token will be automatically inserted in the Token field.
- Domains — select a domain. This field displays the organization's primary domain. Mail aliases are not displayed, but will be created in the panel as separate mail domains during import. The default action for such mail domains is set to redirect to domain, and the organization's main domain is specified as the domain for redirection.
- Mailboxes — select mailboxes. Only the main mailbox of each employee is displayed in this field. User aliases are not displayed, but will be added as aliases for the main mailbox during import.
Import mailbox content — check this box if you want to transfer mailbox data to the panel. This requires an active VK WorkMail paid subscription.
If not checked, empty mailboxes and domains will be created in the panel. In the future, mailbox owners will be able to transfer mails via mailbox on their own.