Using Weblate for translation
1. Before you start
To get started with the translation tool, register using the link sent by the ispmanager representative to your email address.
On the home page, click the Sign in button and enter your username/password

After authorization, you will be taken to the Dashboard page. This page is empty until you start working.

After you start working, all projects and components you have interacted with are automatically added to the Watched translations section. You can add and remove lines from this section yourself.

2. Translation settings
Navigate to the Languages - Manage translated languages section, in the left column click on the name of the language you will translate into, it will automatically move to the right column. At the very bottom of the page, click Save.

After saving the settings, the selected languages will appear in the Languages section of the Dashboard.

3. Structure
To view all available projects click Projects - Browse all projects

Now the whole translation is divided into two projects - core-manager and ispmanager-6. A third project - changelog - will appear in the future, but it is currently under development:

To go to a project, click on its name, the page with project components will open.
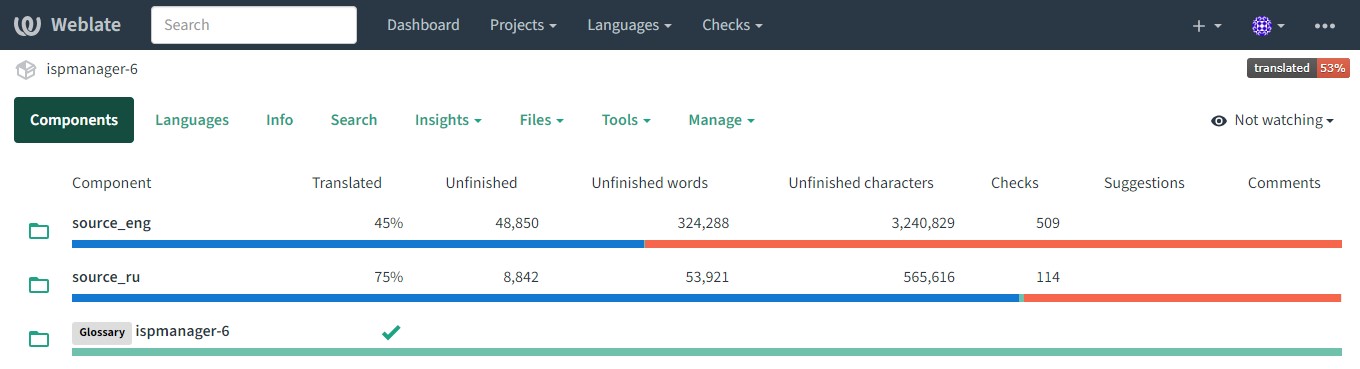
The core-manager and ispmanager-6 projects have similar structure, they will have two components: source_ru and source_eng. The first component will contain a small set of languages, translated from Russian. The second component will contain all other languages, translated from English.
Part of the source_ru component page:

Part of the source_eng component page:

4. Translation process
To start translating messages, you need to go to one of the projects and components and select the language you want to start translating into. Clicking on any of them will open the translation status page, which shows the overall translation status and the status of individual lines.

Browse - clicking this button opens the full list of translated words and messages.
Translate - clicking this button will open a page with only those messages that have no translation.

The translation page displays the source string and the string for inserting the translation.

To save the translation, click the Save and continue or Save and stay buttons. Regardless of the selected button, if there are errors in the translation, weblate will warn you about it in the box on the right side of the page.
You can move between strings using the buttons above or below the translation.

You can use the search to find specific strings, it is done both using the keys and by the content.

5. Saving the translation
Clicking on any of the string states will open a page with translation of only those strings whose state corresponds to the selected one.

After the translation is saved, it will need to be verified. The verification will be carried out by users who will receive the appropriate rights. The translation will be sent to the developers only after it has been verified and approved.
After the translation is approved, it will automatically be added to the Approved strings, and if the translation needs to be corrected, the string will receive the “needs editing”status. These strings can be accessed by clicking on Strings marked for edit on the Strings status page.

If there are changes in the source language, the translations for these strings also get the "Needs editing" status. When correcting strings with this status, you should uncheck the Needs editing checkbox under the translation.

Once the string is approved and sent to the developers, changes related to the string will be added to the next release.
For a detailed description of other program functions please see the documentation