How to set and change a PHP version
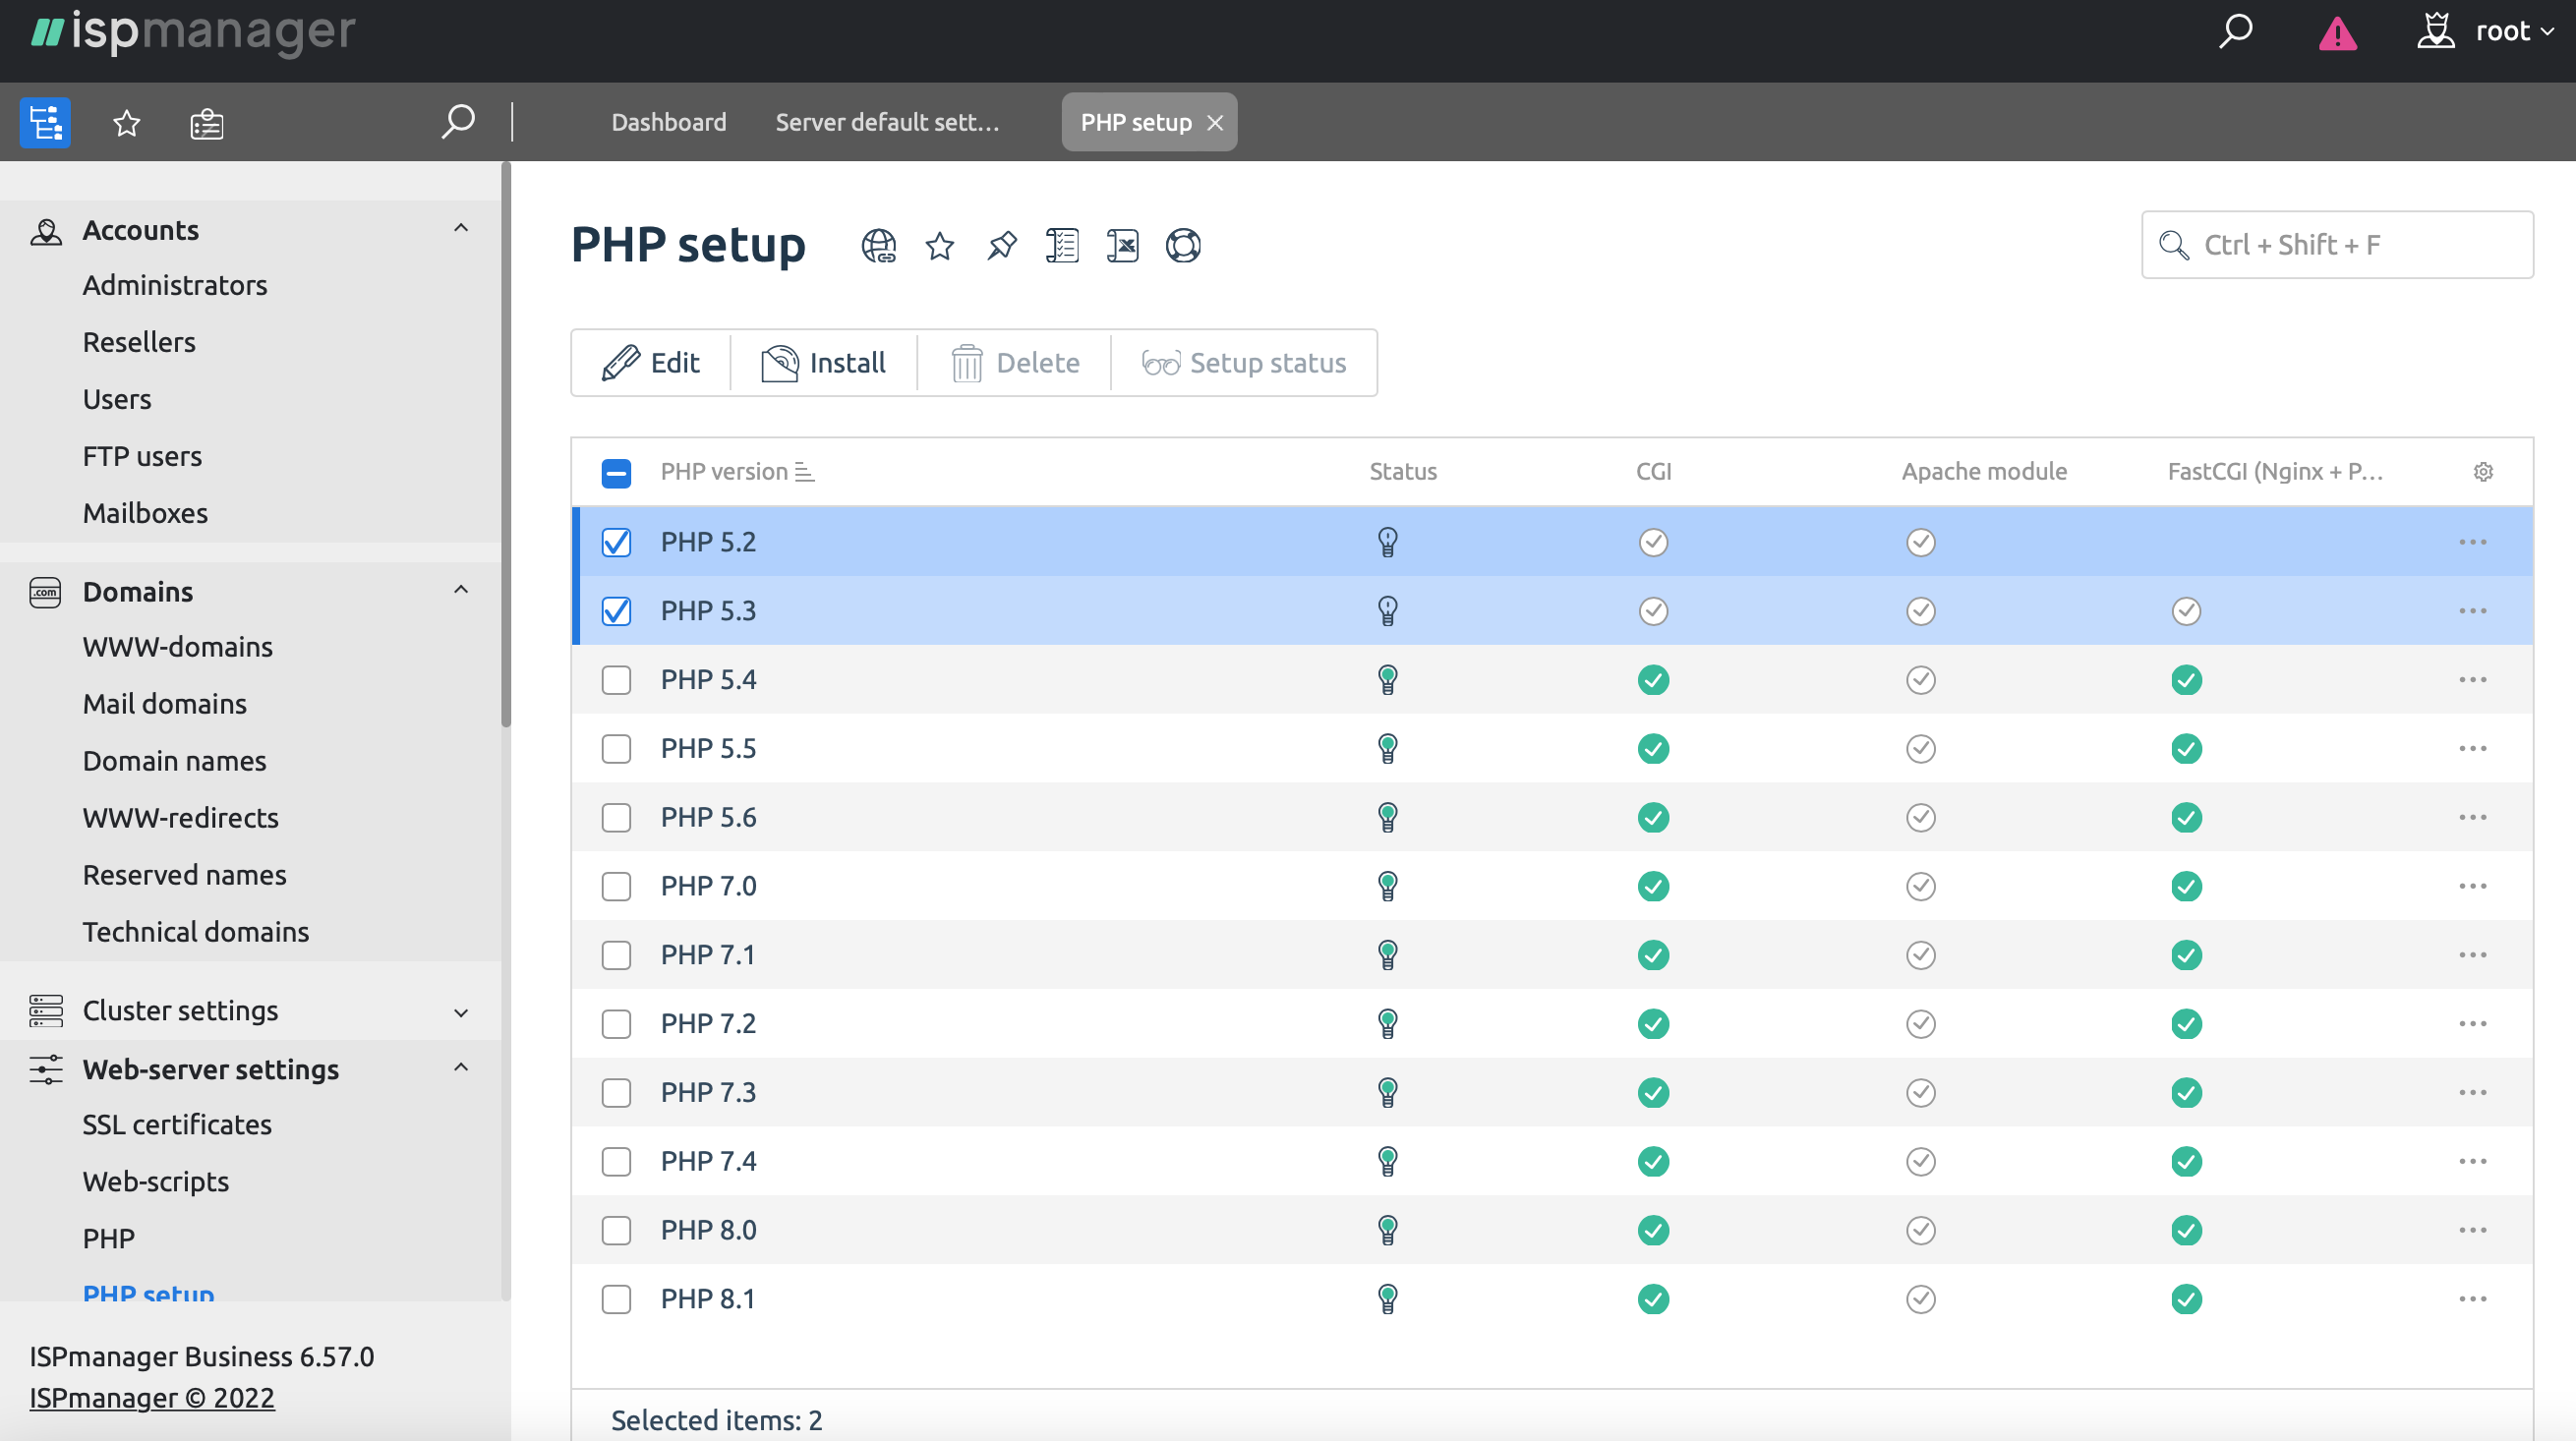
The native PHP version is a version from the official OS repository. It is installed automatically along with ispmanager. Additionally, you can install alternative versions from the ispmanager repository. In order to do this navigate to Web-server settings → PHP setup, choose the necessary PHP version and and click Install.
See the picture below for PHP version examples.

In Web Server Settings → PHP the versions that are available for each of the PHP modes are displayed.
Log in to the control panel as Admin, select the PHP version and click Apache module to apply it to all the WWW-domains of the ISPmanager users with the mode "PHP as Apache".
For FastCGI (Nginx + PHP-FPM) the version can be changed in PHP list at the user level or in the user editing from at the admin level. Changes apply to all user's WWW domains using PHP in FastCGI (Nginx + PHP-FPM) mode. This way, the setting is applied to the user.
Learn more under PHP modes.
Individual version configuration
For each site is available the functionality of an individual choice of PHP version from the list of preinstalled versions, for CGI and FastCGI modes.
You can choose a version when creating a site or change it on an already created one.
See picture below for available PHP version examples in FastCGI mode.

Setting up an individual version for already created sites
To select a version:
- Open WWW-domains.
- In the line with the required site, click " ... " and select Edit.
- If you need to make changes for several sites at once, check the appropriate checkboxes and click Edit.
- In the "Additional features" section, select the required mode of operation and PHP version.
- Press the button Ok.
See picture below for example screen of the "Sites" section (WWW-domains).
